
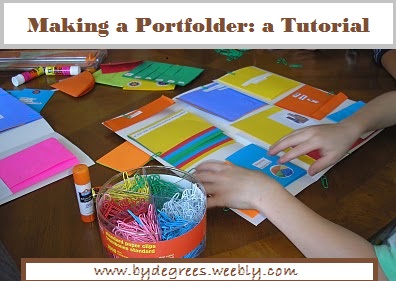
Making a writing Portfolder: a tutorial
Do you want to make a portfolder with your kids but think you need someone to hold your hand through the process?
I am here to offer my hand with a project intended for elementary-aged children who need general writing experience. They will do a variety of fun writing assignments which will culminate in a portfolder to share with others.
Here is the official description:
Once children are ready to write independently, it can be challenging to know how to guide them. In this tutorial, children’s imaginations will be stirred as they complete a variety of assignments, many of them inspired by published writing. Each piece will begin as a draft on notebook paper and end as a typed mini-book which will be displayed on a portfolder to be read and enjoyed for years to come.
See the happy faces of kids who have made them before?
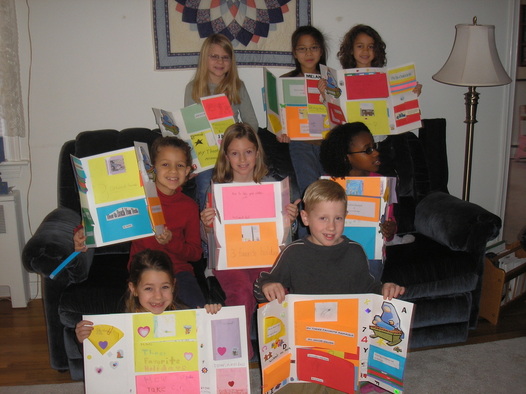
Click the picture to see other happy kids with their projects.
Before we begin, I'd like you to remember a few things.
First, it's important for kids to begin with a blank screen or sheet of paper so they are free to engage in the writing process. If you give them the flaps, folds, or mini-books for the portfolder too soon, you will either 1) not see the child's best writing or 2) end up with eraser smudges or tears. Save the mini-books for the final copies!
Similarly, stress the process of writing in these assignments. The first draft is likely not the best you can get from your students.
To make the final product extra special, I recommend that students' work be typed, cut (preferably with a paper cutter), and glued (with a glue stick) onto the mini-books.
Think of my ideas as suggestions. If you deviate from them because you or your children have a better idea, I'll never know. The goal is to propel your children to write, to end up with a project that satisfies them. If that is accomplished, celebrate!
Writing doesn't have to be laborious or tedious. Have fun!
Oh, and if anything is unclear, PLEASE let me know.
Now I think we're ready, so let's begin.
Gather supplies
The basic supplies are listed here for you.
Make a portfolder shell
Follow Steps 1-3 here to make a single portfolder.
Mini-book #1: Acrostic Name Poem
Find the instructions for writing the acrostic poem here.
When the acrostic is finished, follow these instructions to make a flapbook for the portfolder.
When the acrostic is finished, follow these instructions to make a flapbook for the portfolder.
As the minibooks are completed, store them in a large zip-top bag to protect them. The flapbook is the bag's first resident! We will wait until the projects are all collected in the bag before we begin laying them out and pasting them to the portfolder.
Mini-book #2: i Know What I like
Look here for this writing assignment based on a picture book by Norma Simon. Then follow the pictures below to make a circle book.
Plop the finished book in the plastic bag to join the acrostic flapbook. Now the bag has two cozy residents!
Mini-books #3 & #4: Metaphors
Students will make two shutterfold books of metaphors, following the post here.
For each word they choose, ask them to write a list of comparisons, choosing their favorite five to develop with sensory details. When they are finalized, one metaphor can be put on the outside cover, adjacent to the title. The other four can be pasted in each of the sections on the inside of the mini-book. Do this for two mini-books.
For each word they choose, ask them to write a list of comparisons, choosing their favorite five to develop with sensory details. When they are finalized, one metaphor can be put on the outside cover, adjacent to the title. The other four can be pasted in each of the sections on the inside of the mini-book. Do this for two mini-books.
Put the mini-books in the storage bag. They're adding up!
Mini-Book #5: Important things
Students will make a book of three to six important things, following the instructions here.
Now you have another mini-book for the storage bag.
Mini-book #6: writing in Threes
The next mini-book is a filmstrip book. Follow the instructions for writing in threes here.
Students will have three pages in their filmstrip books, one for each of their important things. On the frames of the filmstrip piece, they will make illustrations which correspond to the pages of their mini-book. When the reader is reading page one, the filmstrip piece will be pulled to the right to allow the first picture to be viewed in the frame. This piece will be pulled to the left to allow the second picture to be viewed when the reader is ready for page 2. It will be pulled completely to the left when the reader is ready for page 3.
When the filmstrip book is complete, add it to the storage bag.
When the filmstrip book is complete, add it to the storage bag.